
01 / PLAN YOUR ORDER
Measure the grass area.
Sketch the yard in simple shapes. Add their areas and subtract patios, beds, and other spaces that will stay uncovered. Keep every measurement in the same unit.
Rectangle
Length × width
Triangle
Base × perpendicular height ÷ 2
Circle
π × radius²
For curves and irregular boundaries, divide the space into smaller shapes. Allow about 5–10% extra for trimming; intricate edges may need more.
02 / BUILD THE ROOT ZONE
Prepare a bed roots can grow into.
Check sunlight, drainage, and soil depth before ordering. A shady or persistently wet corner may need a different planting approach.
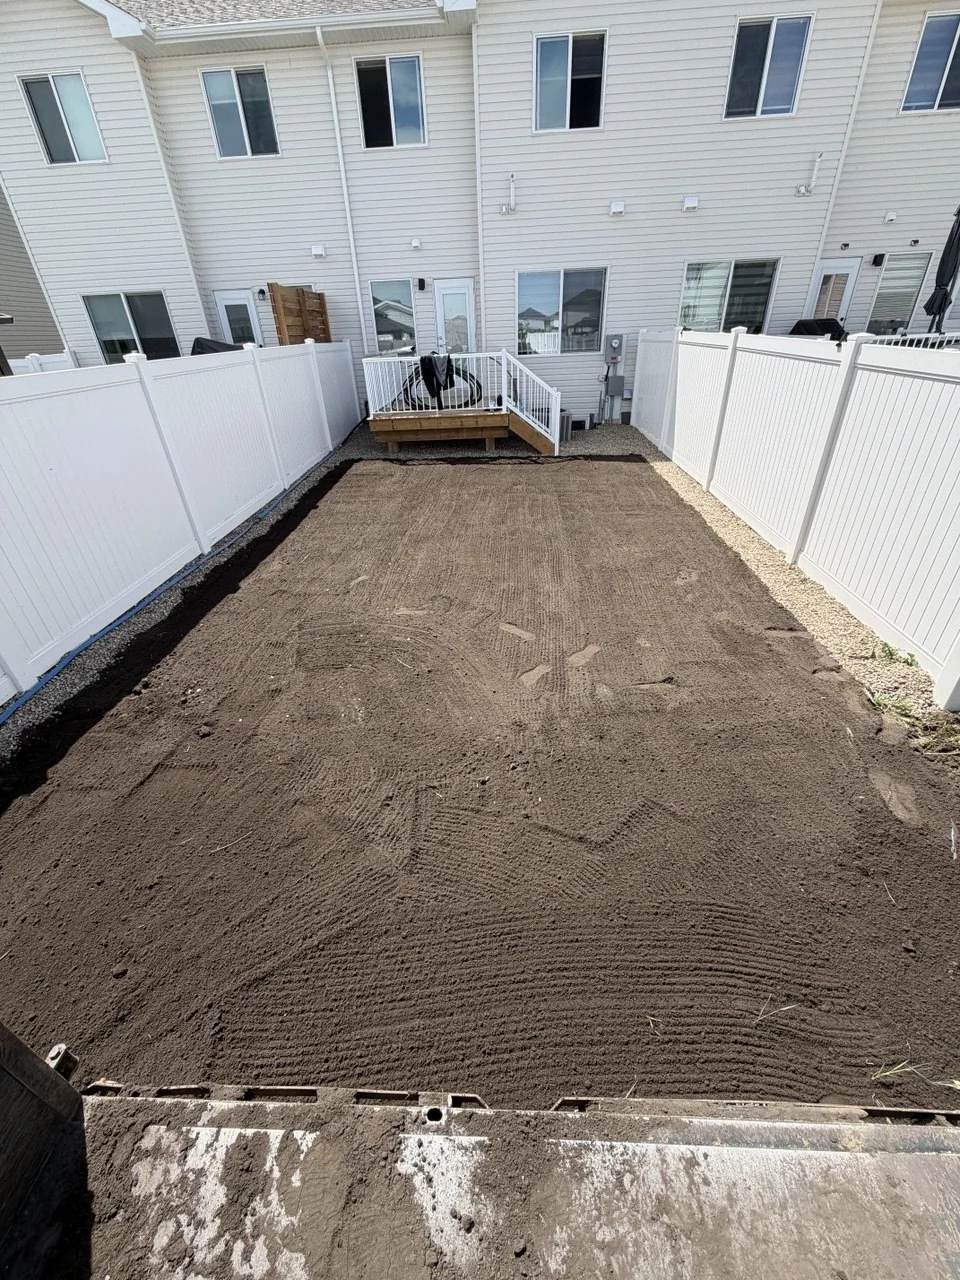
- Remove old turf, weeds, roots, stones, and construction debris.
- Loosen compacted ground. Correct low areas and direct surface water away from buildings while respecting the property’s drainage plan.
- Assess the existing soil before adding topsoil. Health Canada gives 4–8 inches (10–20 cm) of good topsoil as general guidance; the amount to add depends on what is already there.
- Blend the soil transition where needed, spread evenly, lightly firm, and rake out ridges. Repair settling before installation.
Beside concrete and paving, leave room for the actual thickness of the sod so the finished lawn meets the edge neatly. About an inch is a starting allowance, not a fixed rule.
03 / INSTALLATION DAY
Fresh sod needs a prompt start.
Finish preparation before delivery and plan to lay the sod that day. Keep waiting rolls shaded. Lightly moisten a hot, dry soil surface without turning it muddy.
- Begin against a straight boundary or string line. Offset the end joints from one row to the next.
- Fit pieces closely without stretching, overlapping, or leaving open seams.
- Cut curves with a sharp sod knife. Keep narrow offcuts away from exposed edges where possible.
- Lay across steep slopes and secure pieces where needed.
- Use a lightly weighted lawn roller to settle the turf against the soil. Gentle passes in two directions help close air pockets; avoid rutting wet ground.
The aim is to bring the sod and soil together, without packing the root zone hard.
04 / WATER & ESTABLISH
Watch the soil, not just the clock.
Right after installation
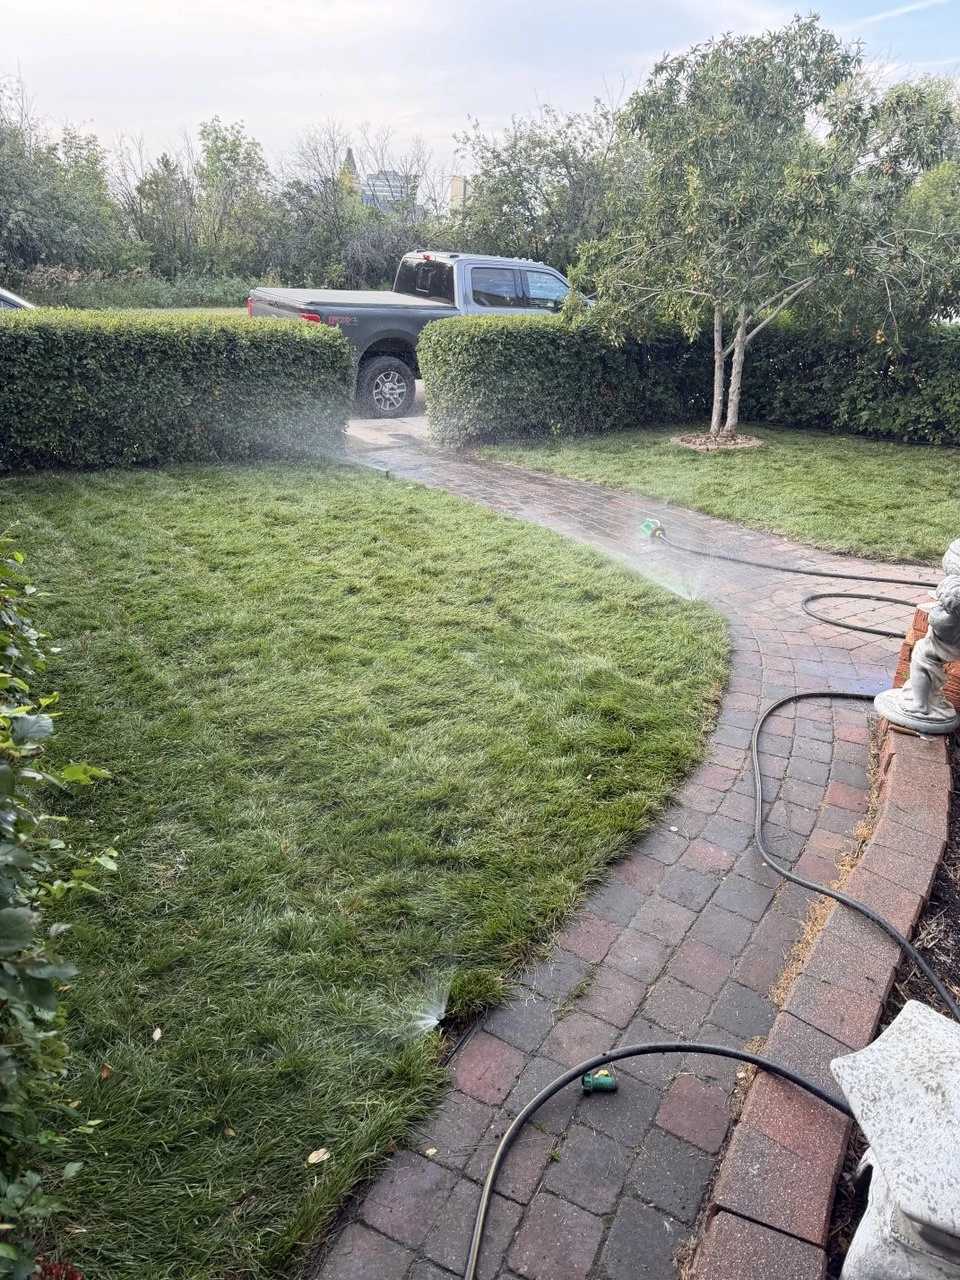
Begin watering promptly, working in completed sections on larger jobs. Wet through the sod into the soil underneath. Lift a corner briefly to check penetration, then put it back. Give seams and edges full coverage.
During the first 10–14 days
Check daily. Keep the sod and upper soil moist, with watering adjusted for rain, wind, heat, and soil type. Daily watering is often needed; hot conditions may need another light cycle. Standing water and constantly saturated soil can hinder rooting.
Keep play, pets, and unnecessary foot traffic off the new lawn, especially while it is soft or wet.
As the roots take hold
After roughly two weeks, gently test a few corners. Resistance suggests rooting; easy lifting means more establishment time is needed. Gradually space out watering and soak more deeply as roots develop. Cool weather can slow this transition.
Once established
A useful local starting point is about 1 inch (25 mm) of water every week to ten days, counting rainfall. Adjust to conditions. Water early in the morning and use straight-sided containers to measure sprinkler output. If water runs off, pause and let it soak in.
05 / THE FIRST CUT & BEYOND
Keep the height. Lose the stress.
For the first mow, wait until the sod is rooted and the ground can support the mower without ruts. Let wet blades dry before cutting.
- Use a sharp blade and aim for roughly 3–3½ inches (7.5–9 cm).
- Take off no more than a third of the grass height in one cut.
- Change mowing direction and follow growth, rather than a fixed weekly appointment.
- Leave fine clippings to return nutrients. Remove heavy clumps that would cover the grass.
- During heat or drought, keep the cut high. In spring, rake gently once the ground is firm; avoid scalping the lawn.
06 / NUTRITION
Feed according to need.
Ask what fertilizer the grower has already applied before feeding new sod. There is no universal requirement to fertilize immediately or every few weeks. Soil testing, grass growth, and the product label should guide the choice and amount.
For established Prairie lawns, USask recommends spring feeding after active growth and a couple of cuts, with any later feeding completed by mid-August. Avoid a routine fall nitrogen application that encourages tender growth before winter.
Spread evenly at the labelled rate and water in as directed. Returning grass clippings and adding suitable compost can reduce the need for purchased fertilizer.
07 / KEEP THE LAWN DENSE
Make less room for weeds.
Consistent care helps grass compete. Address thin patches, poor drainage, compacted ground, and excessive thatch instead of treating every symptom with a spray.
Remove weeds before they seed and repair the bare spots they leave. A few weeds do not mean the lawn has failed. For persistent problems, identify the plant first and get local advice. Any control product must be appropriate for new turf and used according to its current label.
Further reading
Practical guidance checked against local and university resources. Follow the instructions supplied with your particular sod and adjust care to your property.